How do you get the Wish Keeper bow in Destiny 2? Here is a complete guide to the new Exotic mission that rewards it. Unlike most other Exotic missions added to Destiny 2 in the past, this one doesn’t have a puzzle or a secret mechanic to unlock it. If you are caught up with the seasonal story, all you need to do is talk to Crow in the Helm and you’ll be finally prompted to start the new Starcrossed Exotic mission.
You’ll be able to go in solo or with a squad of three, but if you can’t find two friends available to jump in, try the new Fireteam Finder. There’s also a Legend difficulty at 1830 which is worth doing if you’re looking to complete the seal for this season. This is the first Destiny 2 Exotic mission to fully tie into the seasonal story and brings with it some exciting lore, so let’s dive in.
Starcrossed first encounter
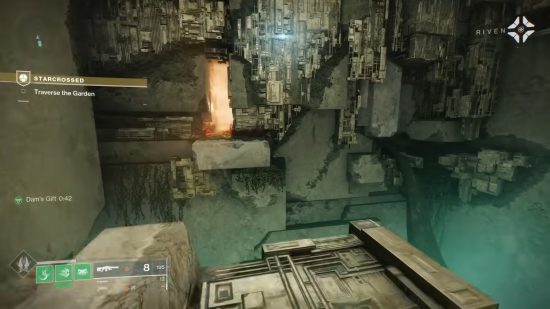
You’ll begin the mission in a new section of the Black Garden with some light parkouring to do. As a general direction, just head to the right and don’t forget to shoot the flowers for some much needed extra platforms.
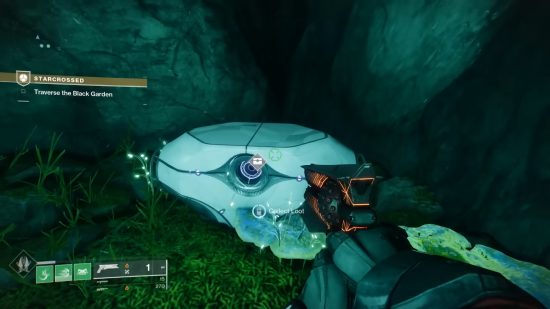
In case you’re lost, look for the enemies on your radar as that’s usually the direction you need to head. In this first area don’t forget to put the Wombo Detector mod on your Ghost to spot a secret chest along the route.
Once out of the parkour zone you’ll find yourself in an open area that you’ll need to traverse. At the end of it you’ll notice a pool of white light, which is the introduction to the first mechanic of this quest. Step in the pool to receive the Sire’s Obligation buff with a 45-second timer.
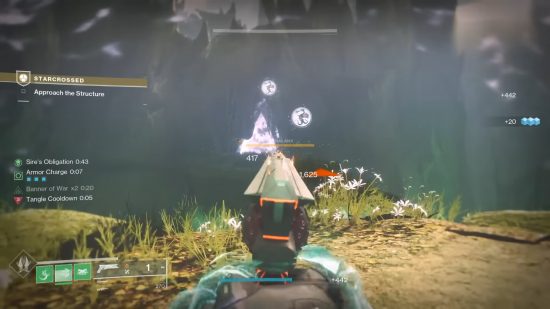
With this buff you’ll be able to both read the symbols on top of the archways that you need to unlock and damage the Taken minibosses that need to die in order for the passageways to open. Kill the one in front of you to get to the first encounter.
You’ll enter an arena with three Taken minibosses, each with an associated symbol. Grab the Sire’s Obligation buff from the white pool and head to the archway. You’ll notice three symbols on top of one another. Read them out from top to bottom and you’ll know the order in which the Taken minibosses need to die to progress.
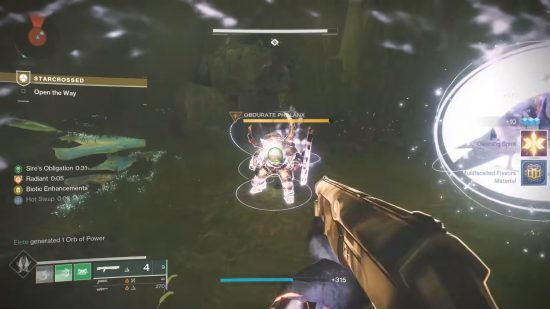
If you kill the wrong one the health of all of the minibosses will fill up and the order of the symbols will change – so make sure you are targeting the correct foe. After each miniboss kill a new wave of more powerful enemies will spawn. If you are struggling to manage them (especially at legendary difficulty) the tactic we used was to bring the health of each boss down to finisher-level and then finish them one after the other in the correct order.
Starcrossed second encounter
After another brief parkour section you’ll be introduced to the second mechanic of the mission: an orange pool of darkness that gives you the Dam’s Gift buff. This will allow you to walk in the orange mist that covers the next areas of the mission. Entering the orange mist without the buff will cause the Unwelcome debuff to appear and you’ll rapidly lose health.
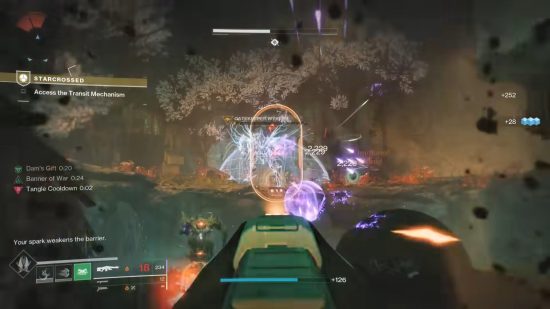
In this second encounter you’ll need to find three Wyverns protecting a shield and a node that you can interact with to open the next door. The very first one to the left of the pool, unlike the next two, is in an area completely full of orange mist so don’t forget to refresh your buff every 30 seconds or you’ll die. This is a very enemy dense area so bring along an ad-clearing build and a Sunshot to blow everything up.
When you have killed all three Wyverns and activated all three of the nodes, with each one clearing a section of orange mist, go back to the starting area of the encounter where you’ll find a few ads and two bosses.
These two do a lot of damage so here’s the best way to take them down. First, kill the snipers on the top left of the arena at the very back – we died more because of them than because of the bosses. Then chip away at the health of both bosses from the orange pool area as they will not come there and it is easier to find cover to regenerate health.
After those two are dead, prepare yourself for a nasty parkour section through an area very reminiscent of Vault of Glass before you can face the pre-boss area. Don’t forget to take a moment to soak in the view – it’s absolutely breathtaking.
How to beat the Destiny 2 Starcrossed main boss
Before facing the final boss of this mission you’ll have to face an encounter very similar to the first one but with the addition of the orange mist.
Grab both the white and the orange buffs, which will grant you a new buff called Crowned by Dragons. Read the three symbols on the archway from top to bottom, kill the three Taken minibosses in the correct order and the final encounter will unlock.
Remember to always go in the orange mist rooms with both buffs or you will not be able to damage the minibosses. Once the barrier gets taken down, rally at the flag and drop down a ledge, where you’ll find both a white buff and an orange buff pool in front of you which you’re going to need. The boss room is entirely filled with orange mist so keep an eye out for the buff’s timer.
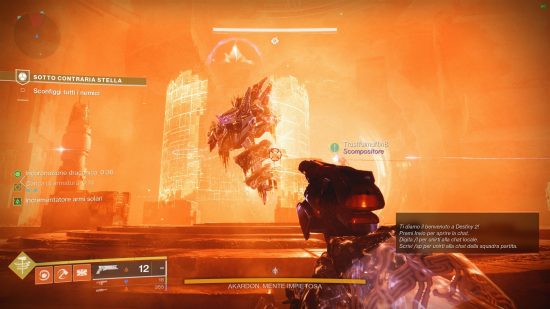
The strategy here is very simple: throw everything you’ve got at the boss while trying not to die. If there’s three of you you’ll find this encounter quite easy because the boss doesn’t have much health. If you are a solo player you might want to consider the tactical approach.
On the left and on the right of the boss there is a Taken miniboss that can be damaged if you have the white buff. Killing them will make the rotating shield of the boss go away for an easier way to deal damage.
In normal mode this boss is a breeze, at legendary difficulty it is quite hard so we recommend triple void resist on your chest armor and burst dps supers. Because the boss hits so hard, we found the new Dragon’s Breath exotic rocket launcher the ideal dps weapon as it still damages the boss while you are behind cover.
After you have defeated Akardon, Pitiless Mind simply walk through an opening in the wall at the back of the room and enjoy your new Strand bow. There’s a lot of important dialogue at the end of the first run of this mission so give yourself time to enjoy it. Then, when the timer runs out, you’ll be treated with a brand new cutscene about Riven’s past.
Destiny 2 Wish Keeper Exotic bow
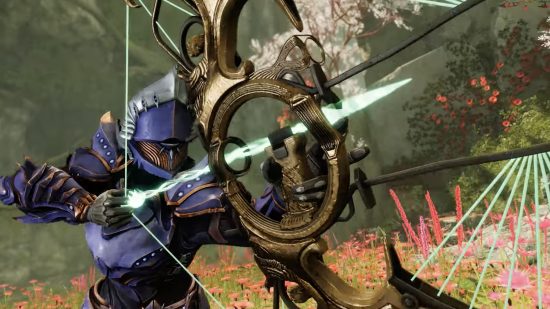
The first thing to note about the new Exotic Strand bow Wish Keeper is its name which is an exact opposite to Wish Ender, the Exotic bow from Forsaken. Siur Aido’s weapon represents the conflict and the hatred for the Ahamkara, while the new addition is the incarnation of all the good that the wish dragons can do.
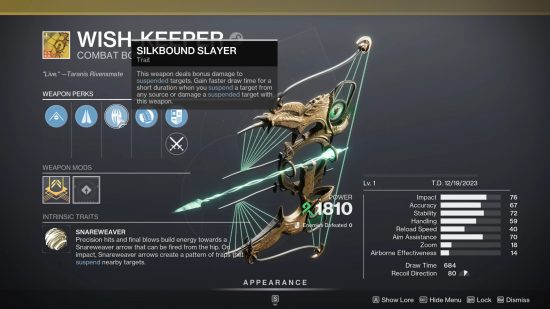
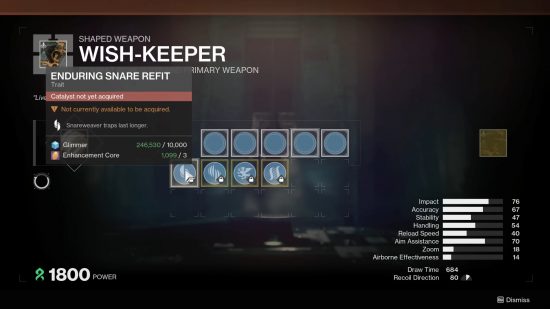
Lore aside, this Exotic bow works like the Revision Zero Exotic pulse rifle from Operation Seraph’s Shield: each week, for the next four weeks, by re-doing the mission you’ll be able to unlock new intrinsics that add benefits to this bow like the perk Vorpal Weapon or Hatchling. The base version of the bow, however, is nothing to scoff at and will pair beautifully with any suspend-focused build.
Simply get kills or precision hits to build up a six-stack meter (one precision hit gives you one stack, one kill gives you three) that, once full, will unlock a special arrow that you can fire from the hip which will create a suspend zone on the ground that will continuously suspend the targets within. Suspending an Unstoppable champion already stuns it so this bow is now a must for most new Grand Master Nightfalls thanks to the Unstoppable bow artifact mod. As a cherry on top, this weapon deals bonus damage to suspended targets and gets a faster draw time when suspending a target with any ability.
If you’re looking for a build to pair with Wish Keeper, we’ve got the best Titan build, best Hunter build, and best Warlock build to keep you going – all of which include an option for Strand.
